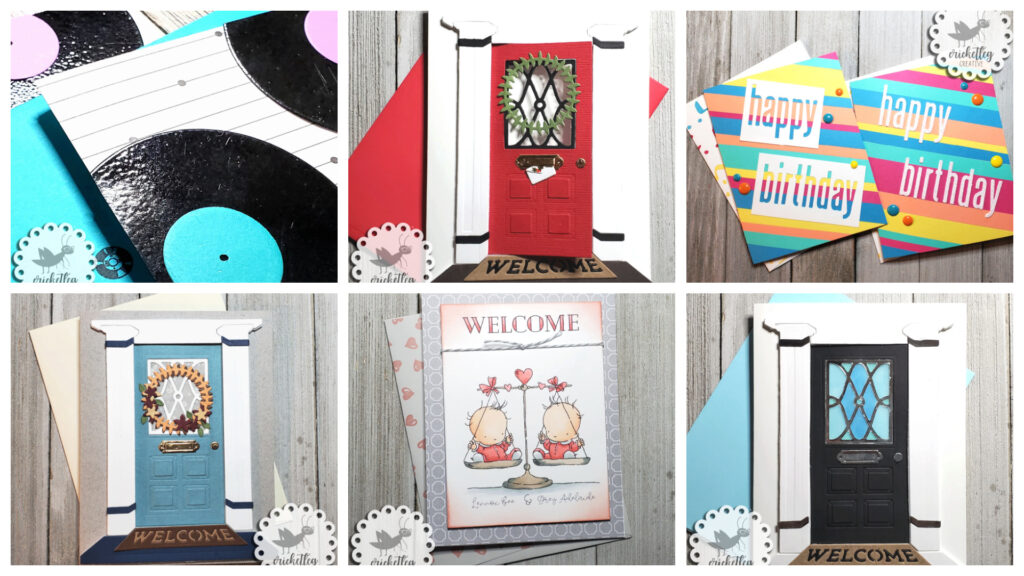
My examples for the Simon Says Stamp Layer It Up Challenge
Well, hi!
Each week for the Simon Says Stamp Monday and Wednesday Challenges, five projects can be entered. This week I’m recovering from sickness so I was thinking that I wouldn’t have five completely different projects. I ended up having exactly 7 different cards! I guess I’ll have to pick my favorite five!
No stamping in these! (Well, unless you count the stamping on the birthday card envelope flaps and the digital stamp in the baby card.) Just die cuts and paper.
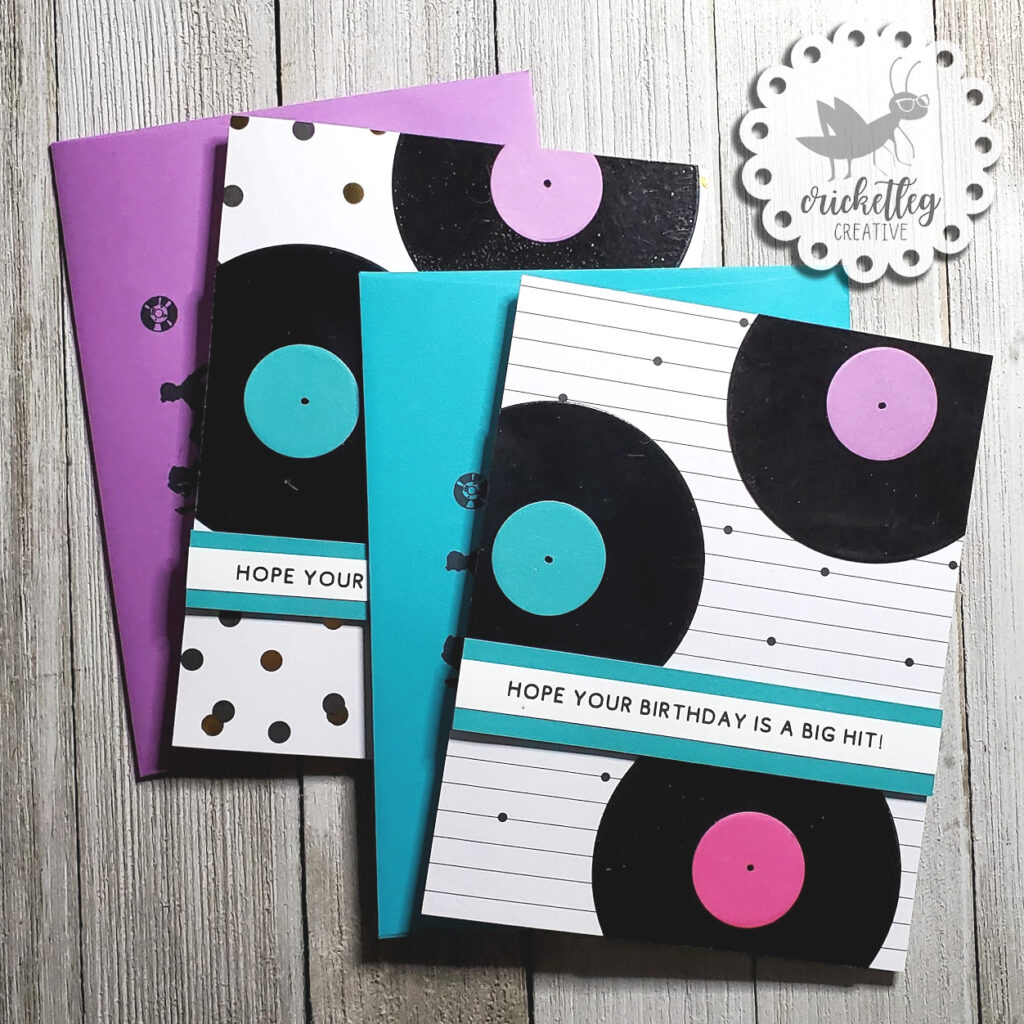
Big Hit Birthday
My first example is a card design I woke up thinking about. Actually, I woke up thinking about the stamp set, which I proceeded not to use for the card design.
I die cut circles for the records and the labels and used a tiny hole punch for the center hole. Before attaching the record labels, I inked up the black circle records with Versamark ink. After applying clear embossing powder I heated each record until the powder melted. Voila! Shiny record!
After adding patterned paper and a sentiment I created on the computer, my unique birthday card is done! These are currently available in my Etsy shop.
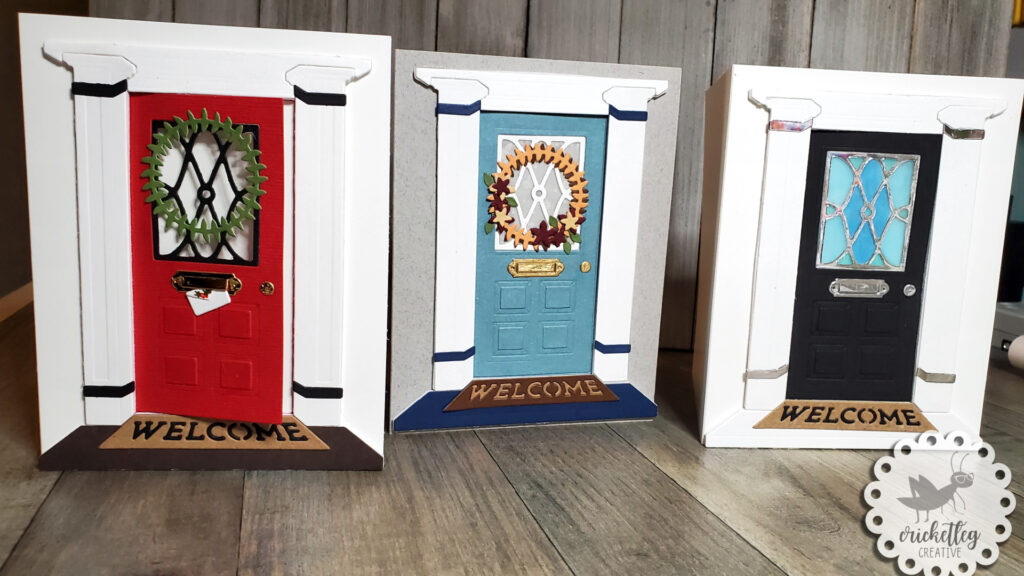
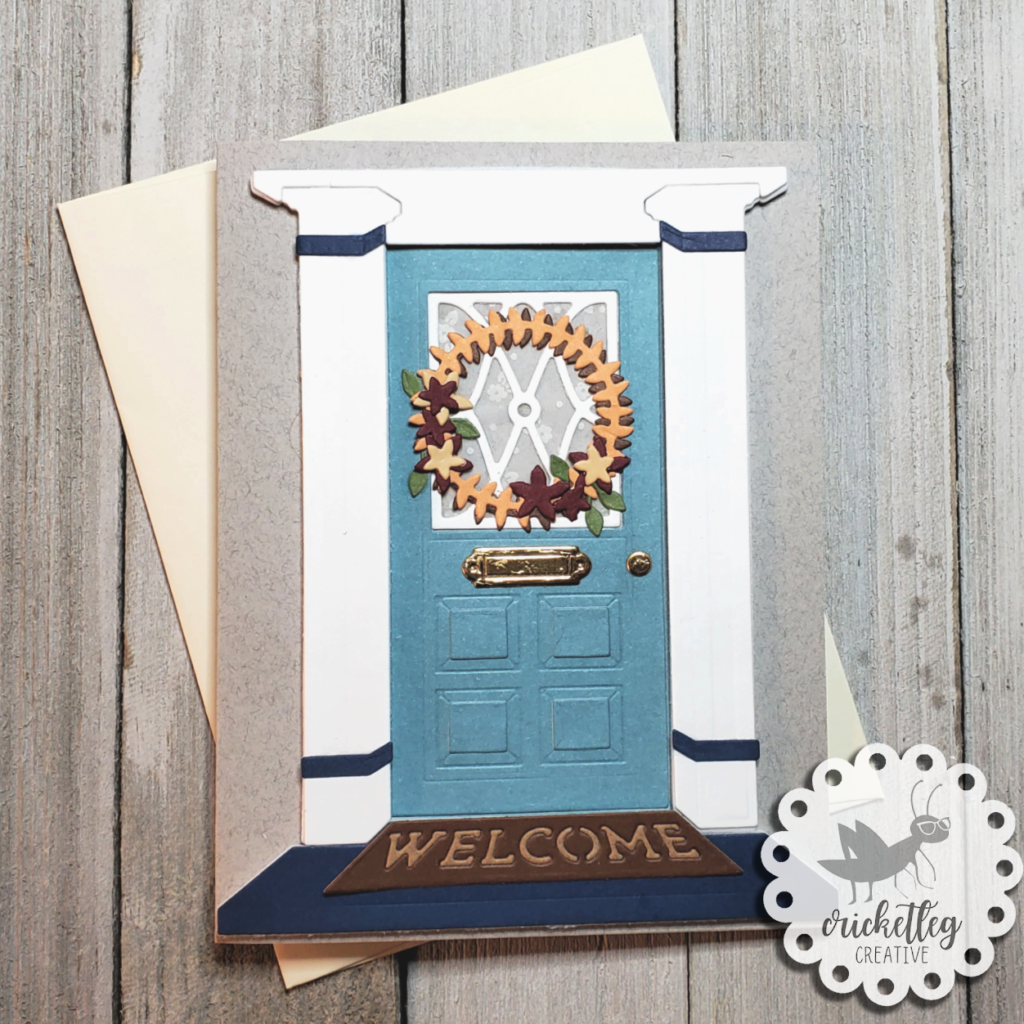
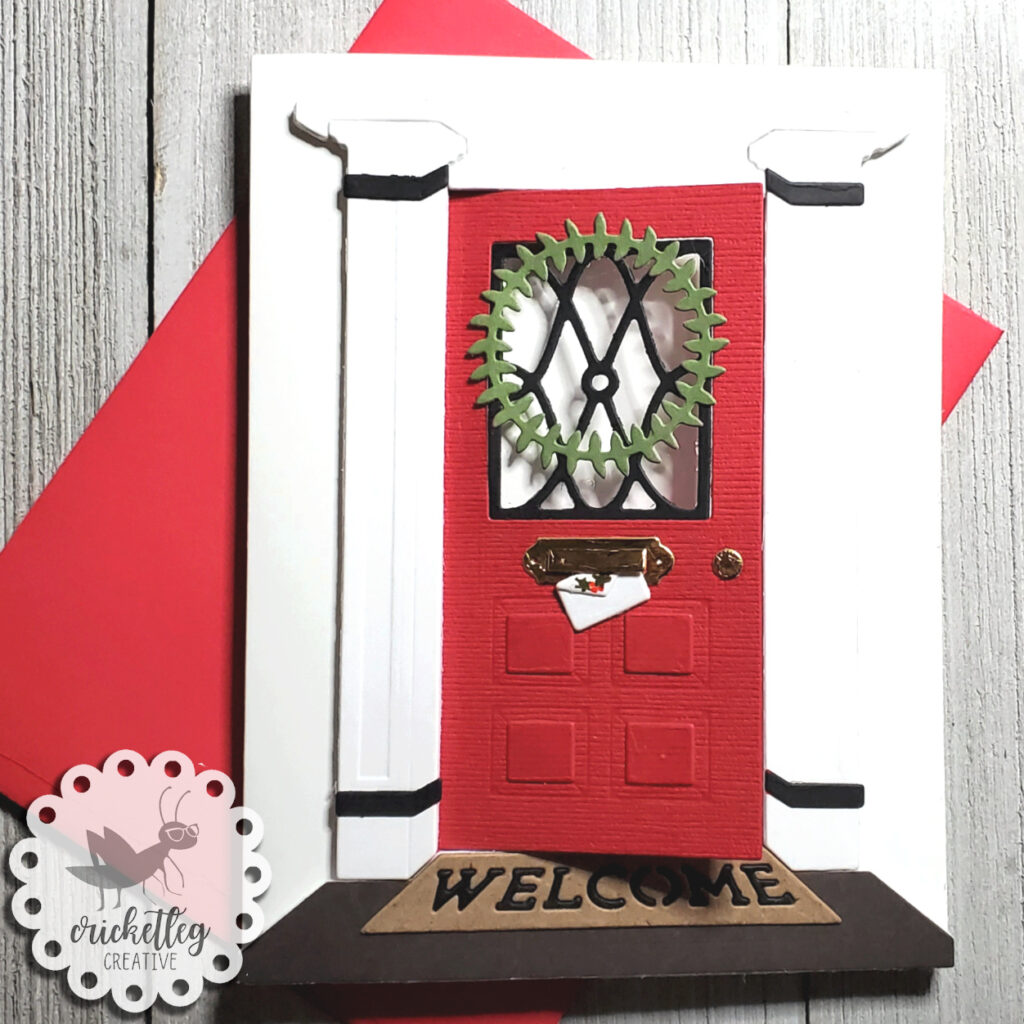
Front Door Welcome
Recently, very recently, I saw Spellbinders Instagram post on their October Large Die of the Month. Yeah, I was spellbound…so good company name! I signed up right away for their Die Hard kit (both the large and small die of the month). So glad I did because that kit sold out only a couple of days later! (You can see all their monthly kits here.)
It took a little figurin’ to get this project going, but once I understood how all the pieces worked together it was a breeze! So satisfying to go from little pieces to completed work!
Seemed like a good idea to work on a few different color combos just to get the creative juices flowing. I really do like each one. The blue door is sweet with it’s vellum floral window and soft autumn colors. The red door is striking with its brass mail slot and Christmas card. And the black door is elegant with its vellum stained glass window. Such fun!
These are also currently available in my Etsy shop.

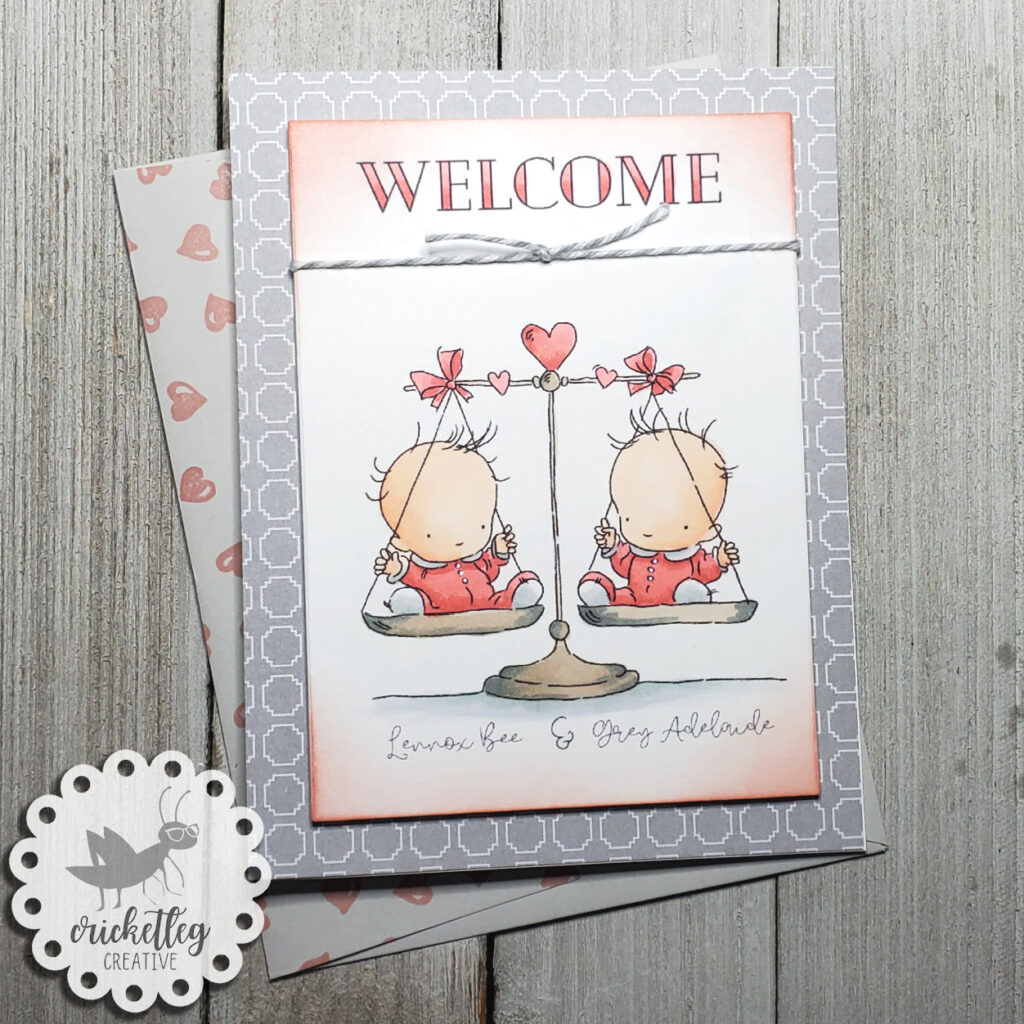
Welcome Baby Twins
My niece asked if I could make a card for her friend who just had twin girls, and if I could customize it with their names. I thought this project was an excellent candidate for digital stamping!
I have been playing around with digital stamping a bit over the last couple of weeks. Digital stamping is basically line drawing clip art. All you do is download it, arrange it in a program like Word or Photoshop OR use it in an online design tool like Canva or Picmonkey. Save it, print it out onto cardstock and then move forward as if you had stamped it by hand…color it in, add embellishments, etc.
Because I want to put cards in my Etsy shop, I always make sure to order from sellers who allow limited commercial use of their images. So far my favorite Etsy shop for digital stamps is Lily of the Valley.
I created my card design on Canva. I placed the twins image that I had already downloaded on my computer, then added the “Welcome” and the names of the twins. Print, color, and layer onto a card. I think that this might be a nice new feature to offer in my shop! Custom cards with the baby names!
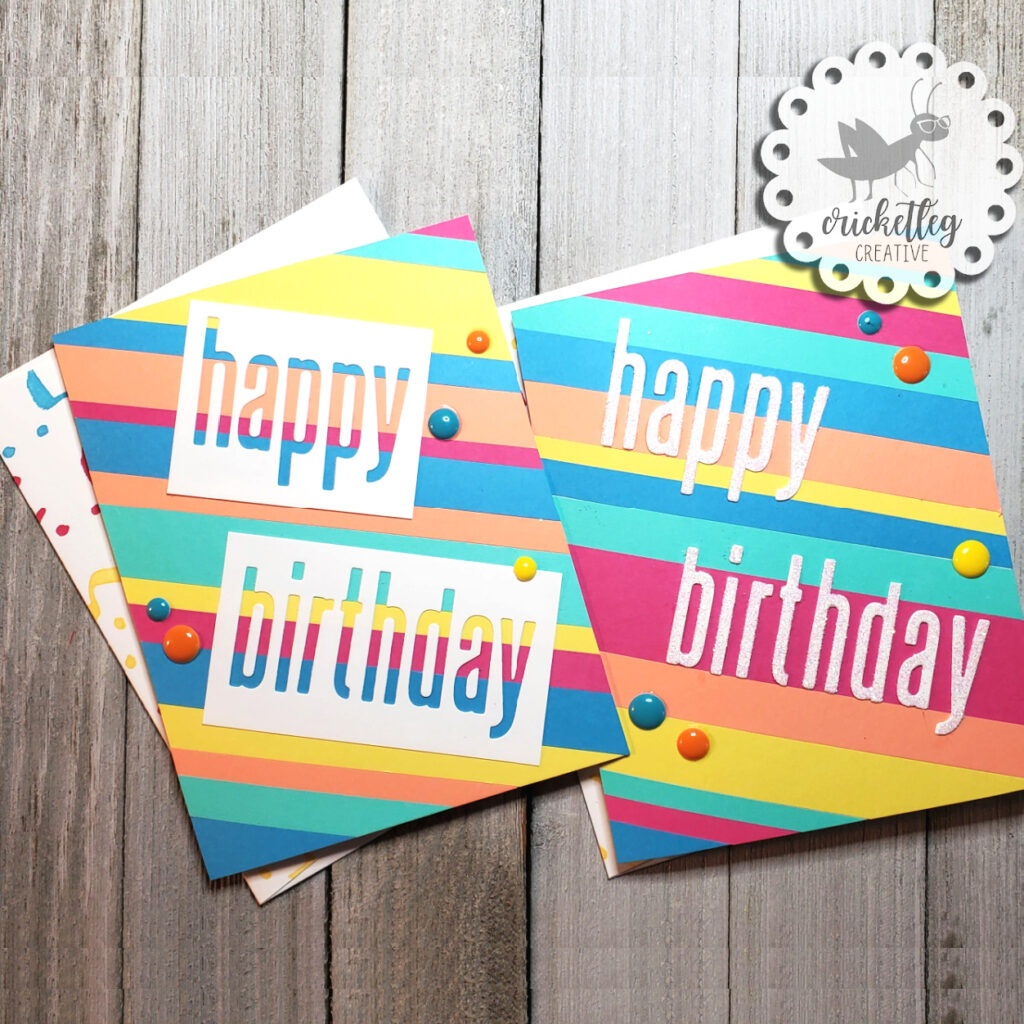
Stripy Birthday
I really needed to add some birthday cards to my Etsy inventory. Admittedly I am mostly smitten with Christmas/winter cards right now. but I forced myself to work on something different!
Since I’ve been wanting to try using scrap paper to make backgrounds I thought making a stripy background for a die cut birthday sentiment would be just right. I covered my card front with adhesive and then just added random strips of colored paper to create my own custom background paper.
I also decided to use the letter die cuts in two ways. One with the traditional cut out letters. But I made sure to line them up well so that I could use the negative space to create a block sentiment where the empty space shows through to the paper strip background underneath. You have to be careful and keep all the little bits so that you can add those back in later, but it’s a great way to get double duty for your die cutting.
So those are my entries from the Simon Says Stamp Wednesday Challenge “Layer It Up.” Cross your fingers that I get the $25 gift card in the random drawing!
You can see my most recent challenge blog post here.
Y’all take care!
Leave a Reply