• Home
  • Handcrafted Cards
    • Challenge Cards
    • Quick Tips
  • About Me
  • Shop
  • More Creative Stuff
    • 3D Printing
    • Home Decor
    • Model Railroading
    • Preparedness
    • Sims 4 Builds
  • Recognition

Cricketleg Creative

Simple One-Layer Cards

March 2, 2022 Handcrafted Cards, Quick Tips

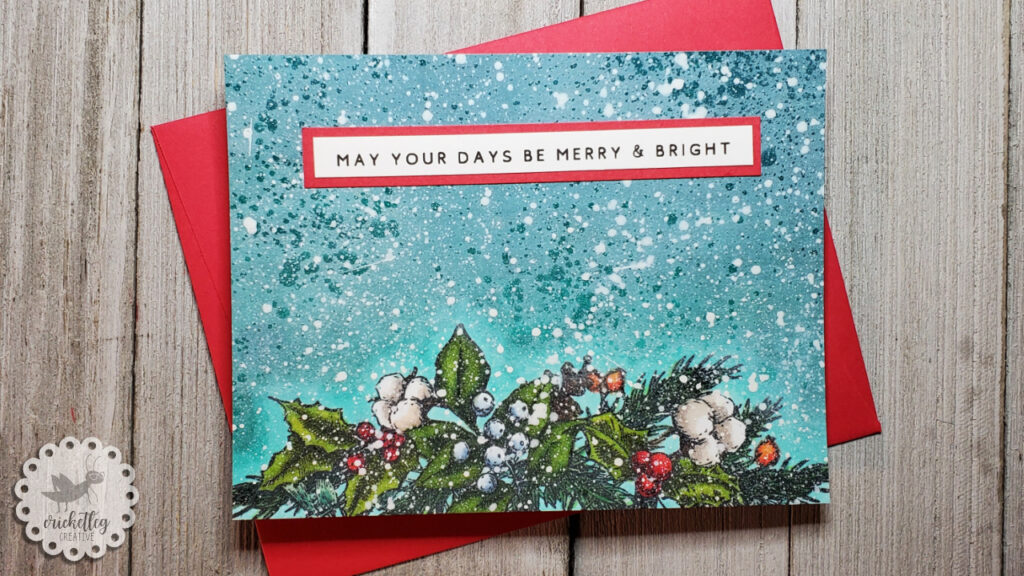
You can make really sweet and simple one-layer cards with very few stamps.

simple one layer cards

I love a really juicy intricate card. They usually take a while, but when you look at the final product you’re super satisfied with the results.

Here’s the thing though….you can actually make a beautiful, sweet card with a simple design. It can take less time and effort but it’s just as nice to look at when you’re done.

And, to be honest, sometimes I like a little empty white space on a card.

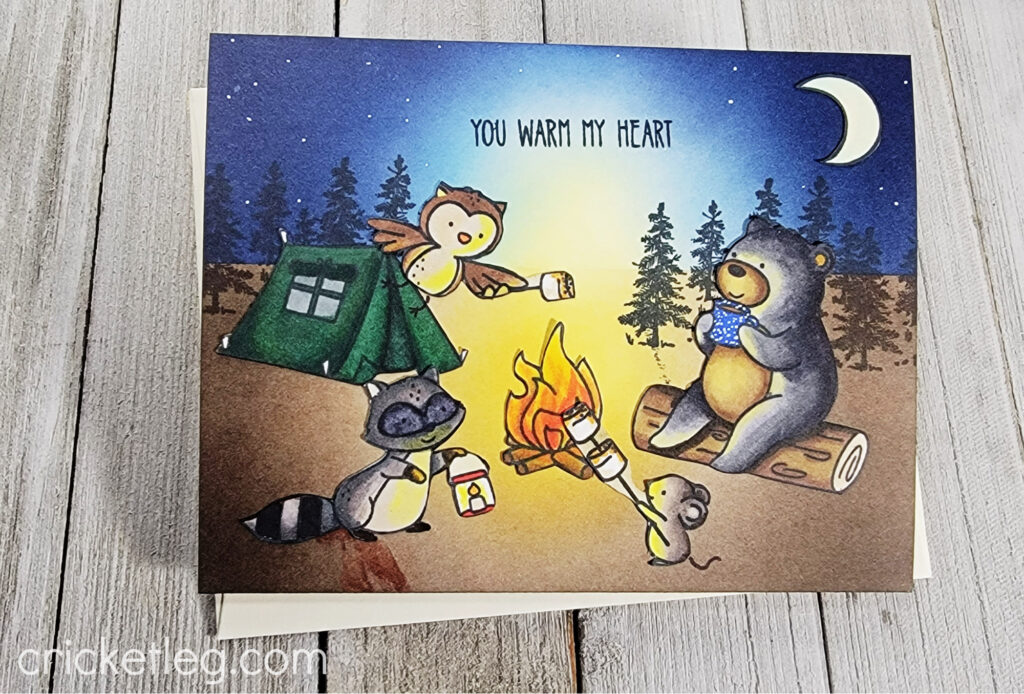
This type of design piqued my interest recently when I watched my mentor, Sandy Allnock, feature her Copic Coloring vignette cards on YouTube. I was convinced that this was one of the next projects I needed to try.

Why This Design Is Easy

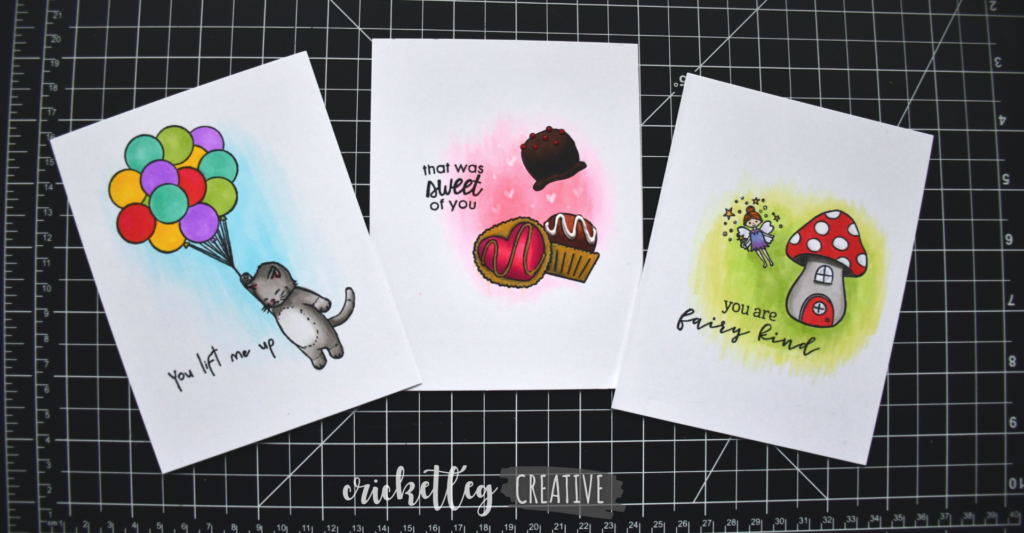
Whether you call them “simple one-layer cards” or “vignette cards” the design idea in this case is the same: pick 2-3 smaller stamps that go together and pair them with a small sentiment.

In Sandy’s video, for example, she featured a very cute sea themed card with 3 sea critter stamps paired with “you’re turtley awesome.” Very simple, but very cute.

One benefit to this type of design is that it is very likely that, even with a small stamp inventory, you are will have something that works.

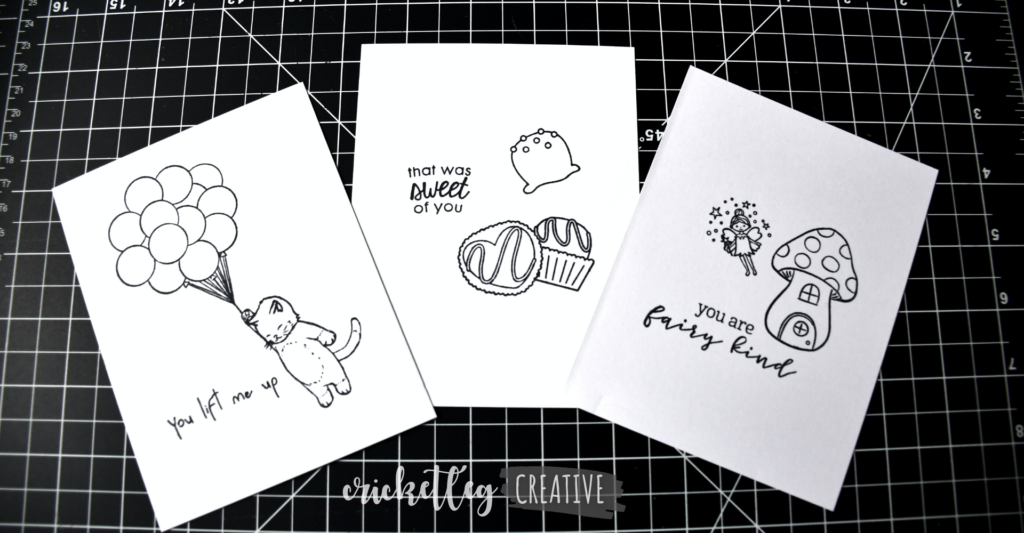
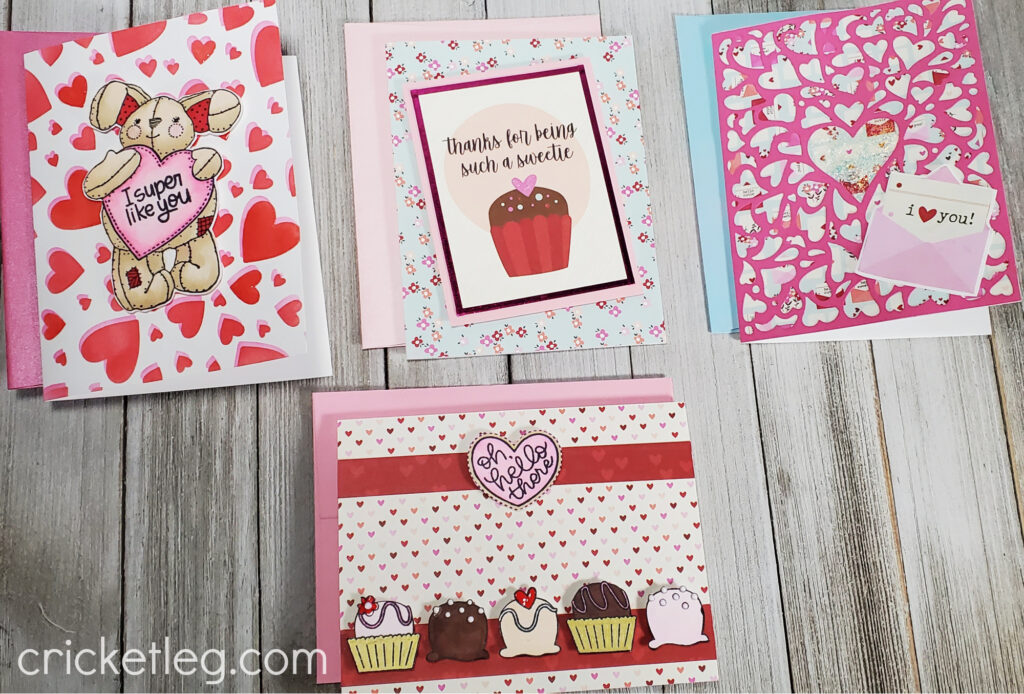
I very quickly looked through my clear stamp sets and found ideas right away. You can see below the pairings I came up with. I stamped the designs with Memento Tuxedo Black ink (so it wouldn’t run with the alcohol ink from the Copic markers).

simple one layer cards

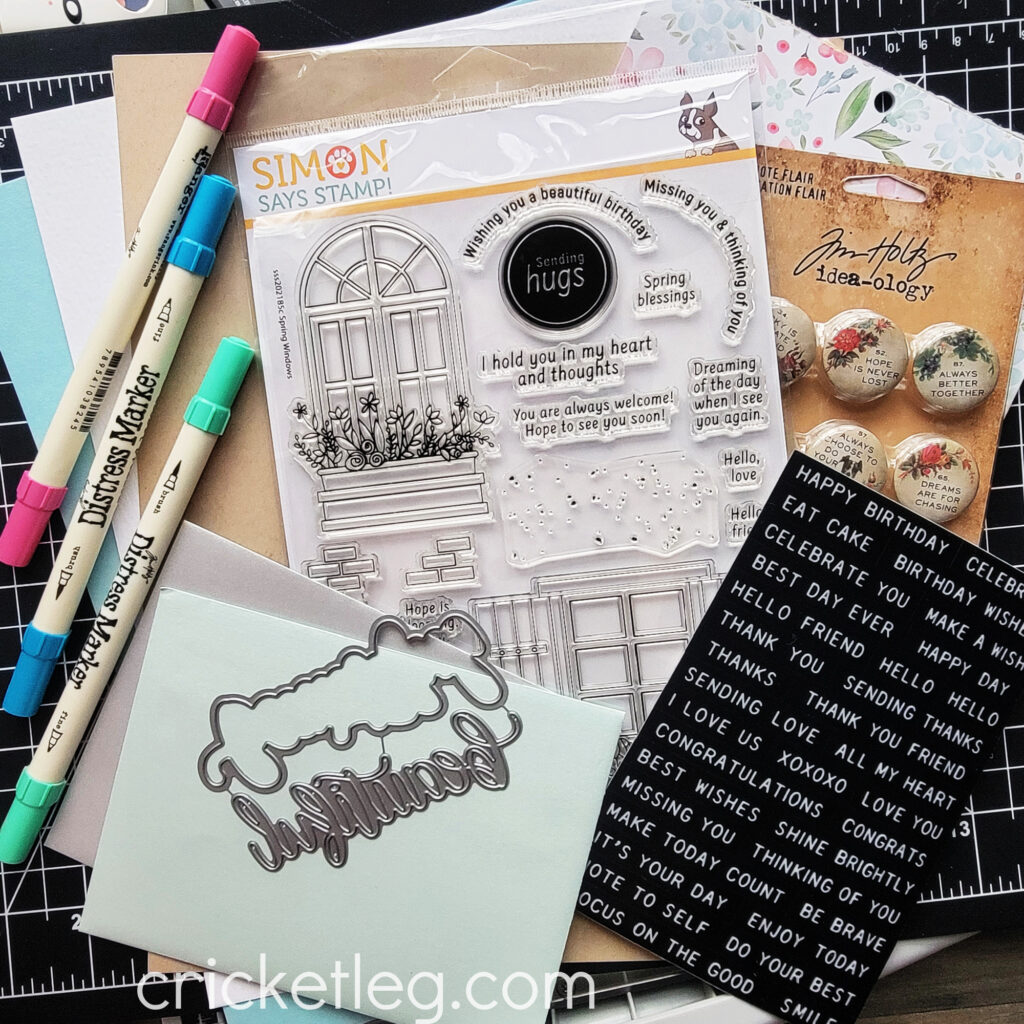
Very few supplies are needed for this type of design. As I mentioned above, if you are using Copics you need to make sure the stamp pad you are using won’t bleed when you color the image in. But considering what all can go into making a card, using a stamp pad, a few stamps and something to color with is a pretty small supply list!

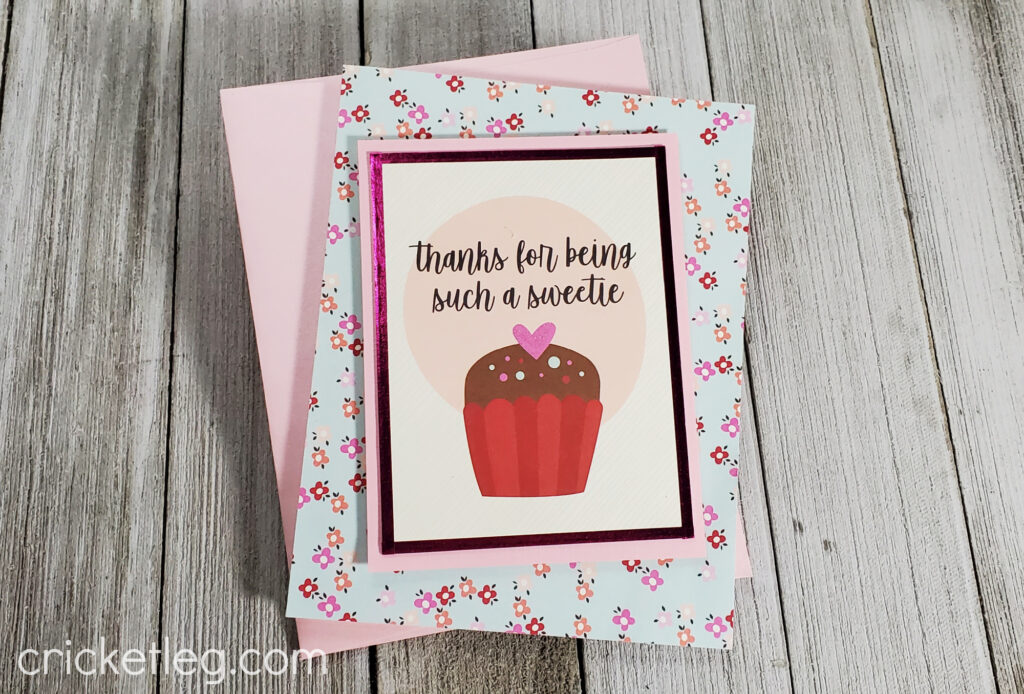
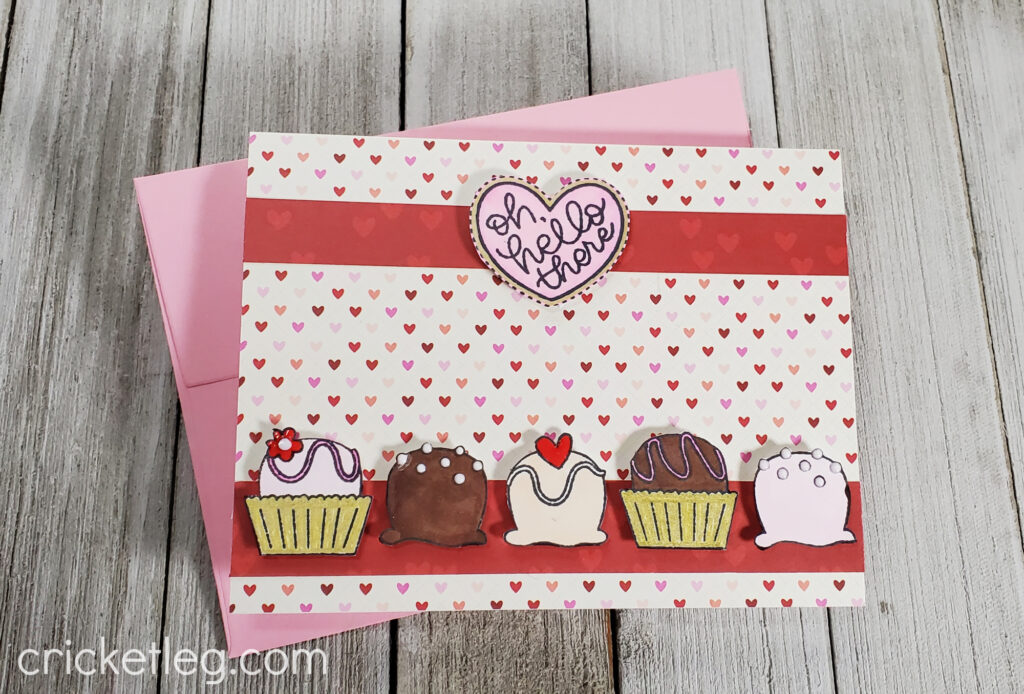
That Was Sweet of You

When I was planning out which stamps I wanted to use, I knew I wanted to do three. And I knew I wanted each one to have a different background color, just so I could try it out. The stamps I chose to use worked perfectly for this.

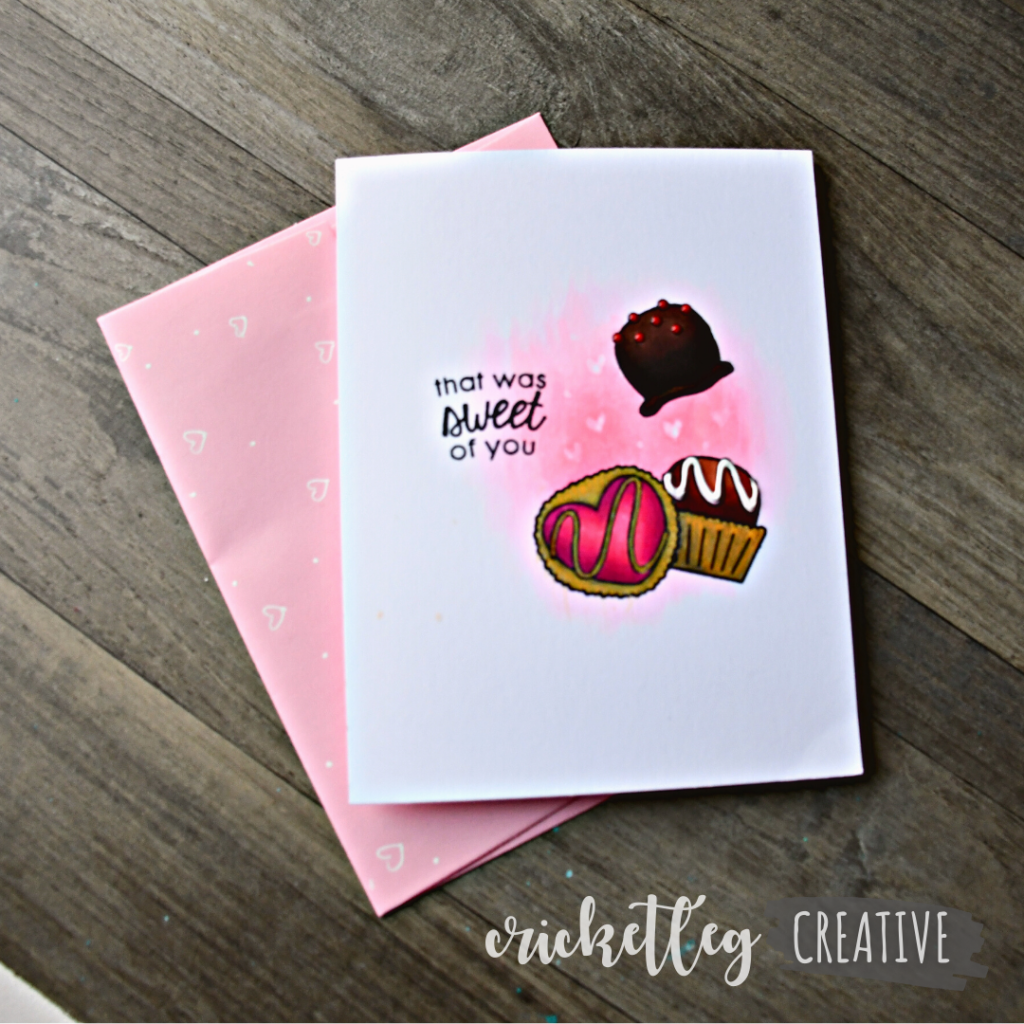
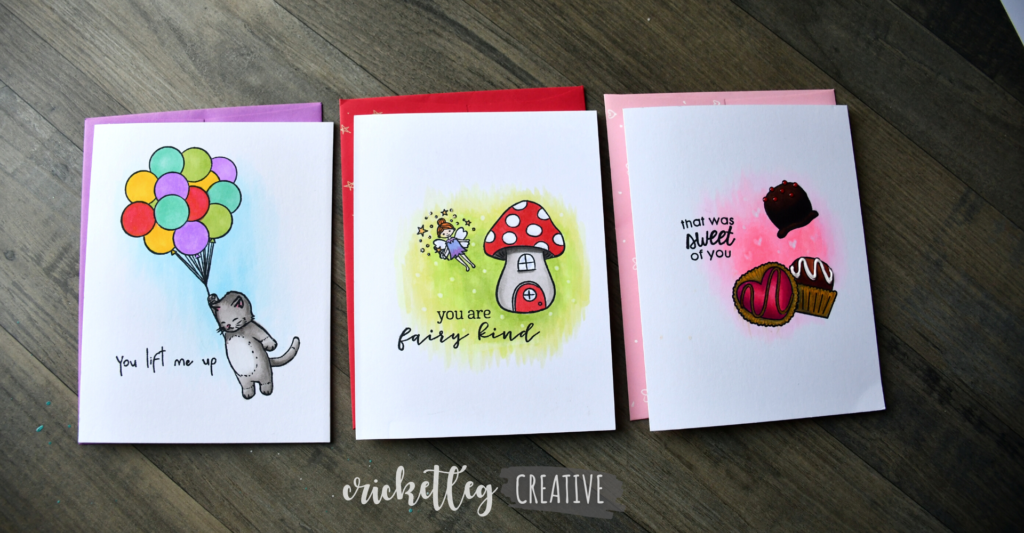
The first card I planned used some candy stamps from the Sweet Truffles set from Simon Says Stamp. I masked one of them so it would look like one was in front of the other. I paired these sweet stamps with a sentiment from the Hero Arts You’re Top Tier set.

After coloring in the truffles, I used some light pinks to color a bit in and around the images, fading out with a lighter pink marker on the edges.

I finished off the design by adding some gold accents with a metallic gold gel pen. And I used Nuvo Crystal Drops in red and white to add some dimension to the truffles.

And I took a tip from Sandy and used my Copic colorless blending marker in the pink shaded area. I drew small hearts.
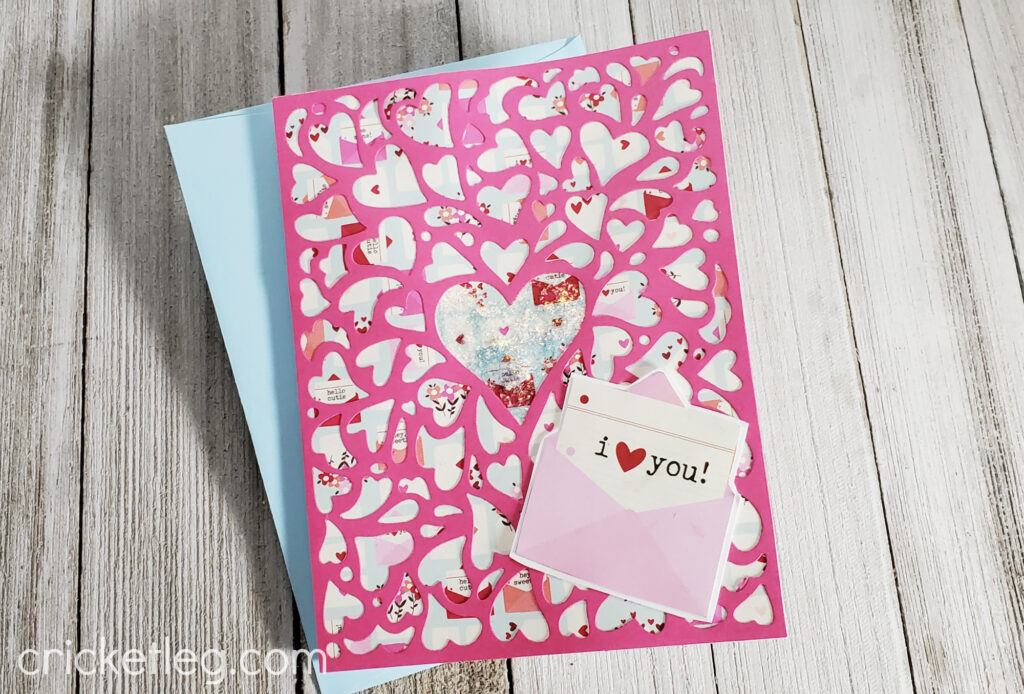
You Are Fairy Kind

All three stamped images came from the Hero Arts My Monthly Hero Kit from July 2021. This is such a cute set–full of gnomes and mushrooms and woodland accents. Just adorable.

Though I really, really, really wanted to do a gnome card, I just couldn’t get past the sentiment “you are fairy kind.” I wanted all these cards to be thank-you cards so I focused on the sentiment.

I used the mushroom house, the fairy, and the sentiment. Once they were colored in, I used light greens to do the background color…fading out again so that the green faded softly.

I added some Stickles clear glittery accents on the fairy dust. The colorless blender also added some dot texture to the background.

You Lift Me Up

For my last simple one-layer card, I chose to use stamps from another My Monthly Hero Kit. This one from June of 2021.

Another simple design, with just the balloon stamp, the cat stamp, and the sentiment. After coloring in the cat and balloons, I used light blues to fade out on the background.

As one last reminder, I recommend using high quality, heavy cardstock for your coloring. You’ll get much better results. I use 110 lb. Neenah white cardstock.

And you don’t have to have Copics. I’ve used cheaper alcohol markers than Copics (but I upgraded last year). You could also try using colored pencils.

And that’s it folks. Simple one-layer cards that can be made very quickly but are very sweet. If you have not yet tried simple designs like these, I invite you to give it a try.

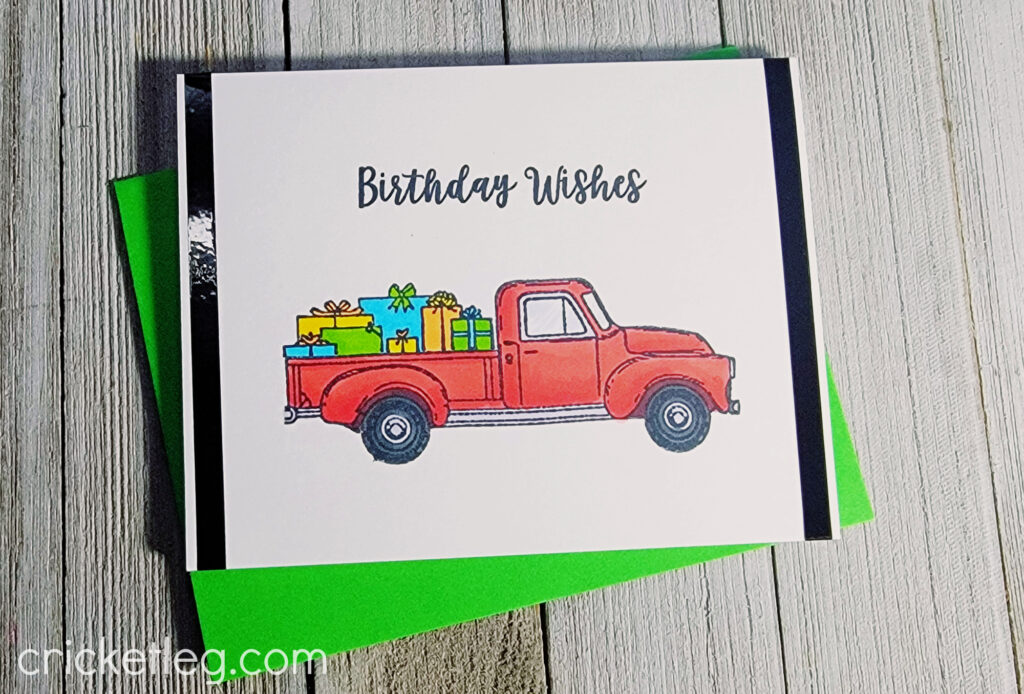
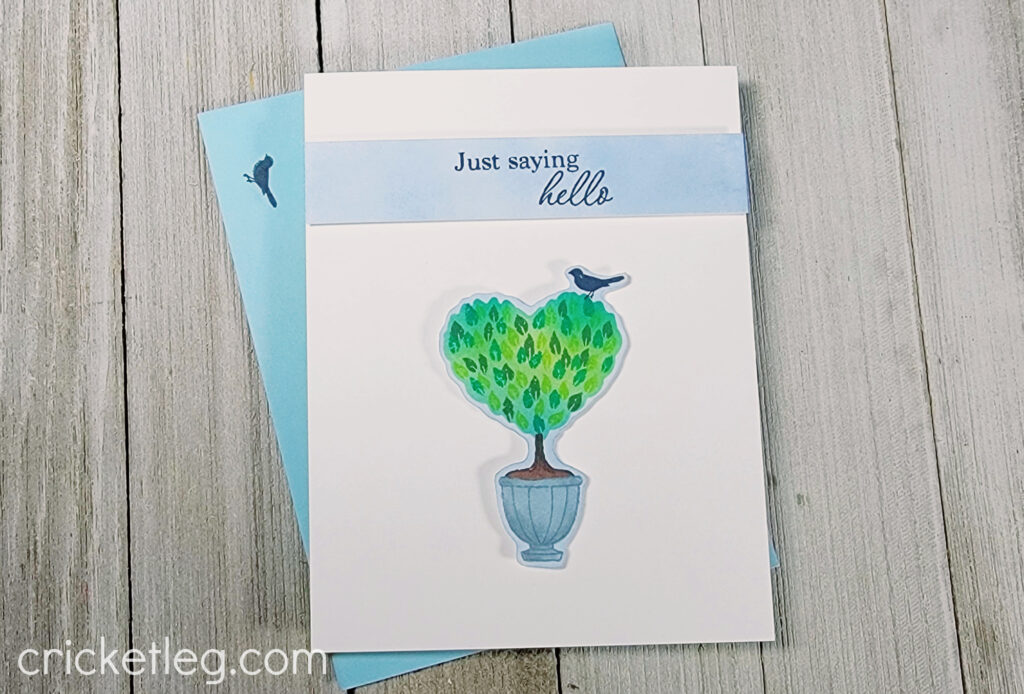
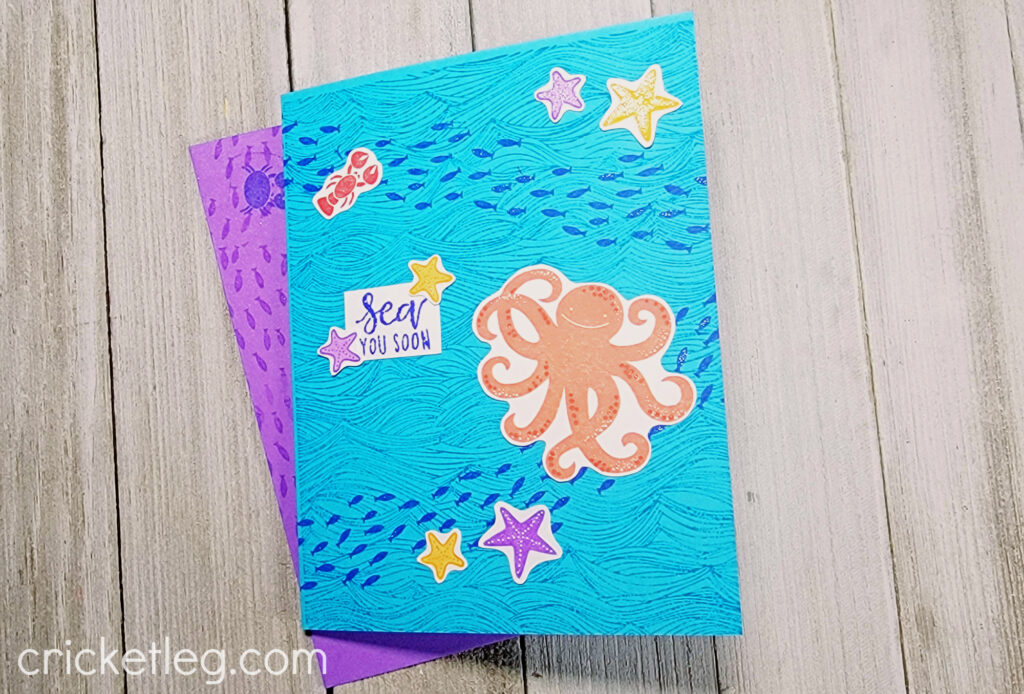
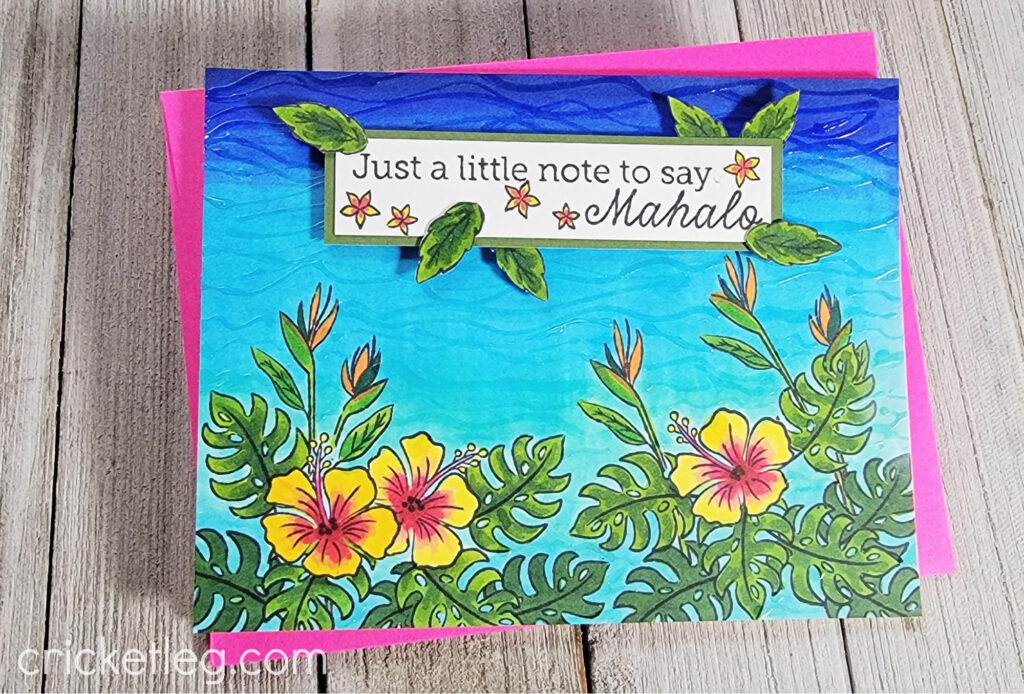
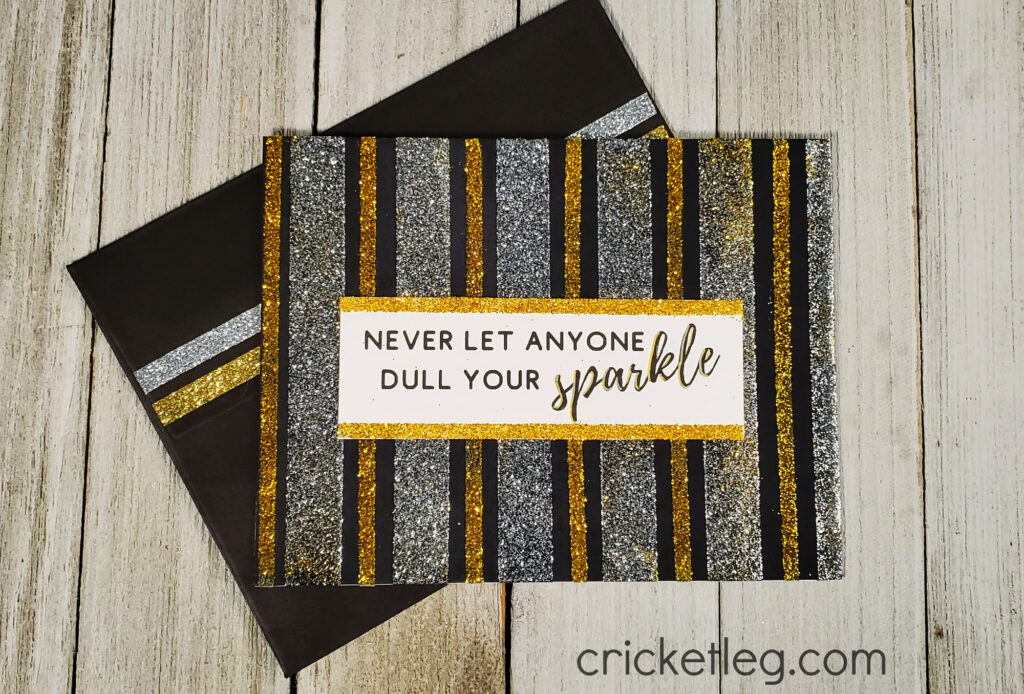
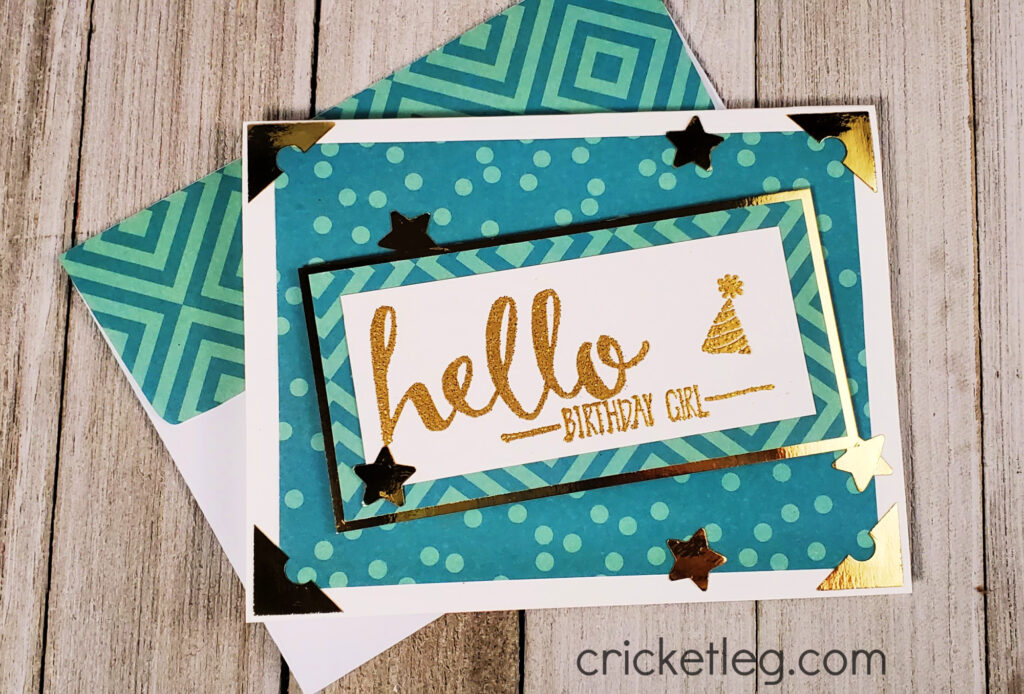
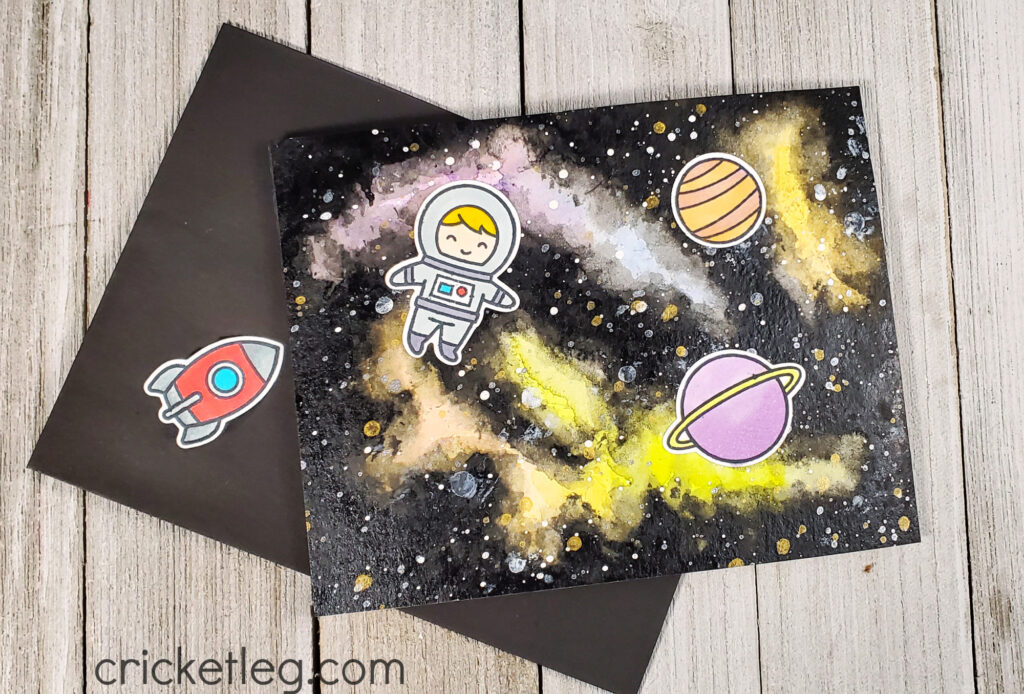
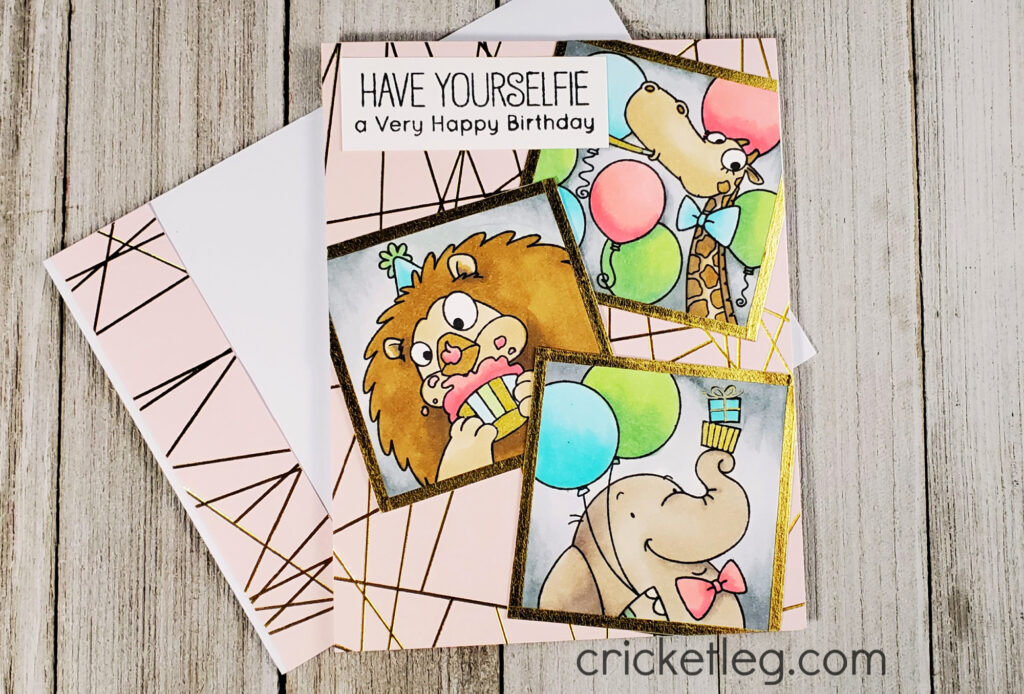
Here are a few other simple card designs you might enjoy trying.

Leave a Comment Categories: Handcrafted Cards, Quick Tips
Share :

“Beautiful Blossoms” Challenge

March 9, 2021 Challenge Cards, Handcrafted Cards

Look what’s blooming in the latest Simon Says Stamp challenge with “Beautiful Blossoms”!

beautiful blossoms challenge

Well, hi!

Spring is just around the corner (thank, goodness) so I’m grateful for some bright, floral fun with this “Beautiful Blossoms” card challenge. I used some new and some old to make three very different cards to enter the challenge.

Let’s take a closer look, shall we?

Crow Picnic Card

For this “Beautiful Blossoms” Challenge entry I dove into my old Stampin’ Up! stash of stamps for this crow and sunflower set. I remember making tons of cards using this set back in the day. But I always used colored pencils. Now that I have Copic markers I find I use them as much or even more than colored pencils!

This is an anniversary card for a family member so I decided to use the ant stamp to stamp the word “LOVE” in the grass. It’s a little wonky, but hey, they’re ants…they’re not perfect!

I also used some red and white baker’s twine to add some interest at the top and bottom.

beautiful blossoms picnic card

Thanks a Bunch Card

While I do love stamping, sometimes I just want to crank out a card with only paper and no stamps. So I used this Sizzix die cut in pink (four layers) to create the main focus of the card.

The background paper is from a Simon Says Stamp card kit. I used my Spectrum Noir glitter brush to cover the entire front of the jar of flowers. You can’t see it in the picture, and no matter how I angled the camera I just couldn’t capture the shimmer. But it’s there! You can see how it looks on another one of my pink/black floral cards here.

I love pink and black together!

pink and black card

Floral Bike Card

I’ve been wanting to use this die set from Sizzix since my daughter gave it to me recently as a gift. (The floral jar in the Thanks a Bunch Card is also from her! Thanks, dear!) What is it about bikes and flowers?

Anyway, everything was die cut in white cardstock. The bike has four layers for dimension. I used Copic markers to color in the bike and flowers. The background is made using an embossing folder.

I used an embossing mat in my Big Shot to press a flower image onto the matching envelope. Loving the look of this clean and bright card!

floral bike card

Alright, spring. I’m ready. You can come now. I guess while I wait I’ll just have to hope that Simon Says Stamp will do more spring-y challenges!

Y’all take care!

Leave a Comment Categories: Challenge Cards, Handcrafted Cards
Share :

Spring Window Card

March 5, 2021 Handcrafted Cards

Just anxious for spring and sharing this Spring Window card I made with the most recent Simon Says Stamp card kit

Well, hi!

It’s normally my day to post challenge cards from the Monday Simon Says Stamp challenge. But, since the challenge this time is “Anything But a Card,” and I mostly do cards….well, I thought I’d just make this cute Spring Window Card instead.

We got a little taste of spring a few days ago and now it’s back to wet and cold. I’m so ready for warmer weather and some flowers. And a break from rain! So, I thought this nice Spring Window Card would brighten things up a bit.

I used stamps from the most recent Simon Says Stamp Card Kit. I just got it the other day.

simon says stamp card kit spring window card

So much stuff in this kit. Markers, paper, envelopes, patterned paper, stamps, dies, embellishments.

I used the brick stamps to create a background and colored some of the bricks in with some neutral colored pencils. The window is stamped on cardstock, colored in with colored pencils, and mounted with foam tape onto the card base.

Confession: the sentiment is actually from the previous month’s card kit. (All of the cards in this post feature something from that kit.) But all else is from the March kit.

I paired the card with a matching envelop and now it’s ready to be sent to a loved one!

Y’all take care!

Leave a Comment Categories: Handcrafted Cards
Share :

“Anything Goes” Challenge

March 2, 2021 Challenge Cards, Handcrafted Cards

Simon Says Stamp “Anything Goes” Challenge with a few cards and a journaling entry.

anything goes challenge

Well, hi!

Sometimes it’s nice to have a specified direction, but sometimes I do love when I can just do whatever I want!

So this latest challenge from Simon Says Stamp being “Anything Goes” is just want I was in the mood for!

Welcome to my five entries. Here they are in no particular order.

Bees & Floral Journal

This is the front page to my Line Upon Line General Conference notebook. I’ve been showing some drawings I’ve been doing on my Instagram (on Sundays). But this time I thought I’d mix things up by doing some stamping and coloring.

I chose to use stamps from the Hero Arts January 2021 kit. Can’t believe I haven’t used it yet before now! It’s such a great stamp and die set. I stamped the large floral and the three different bees. Then I colored it in with colored pencils.

anything goes challenge floral

Pig Out!

Okay, here’s a chance to address something. Months ago, in an effort to increase my stamp and die supplies with as little money as possible, I made an Amazon experiment.

I ordered some really cheap clear mount stamps with matching dies. Do they work? Um, mostly. Would I do it again? No.

The quality of the stamps is poor. They do not stamp with very clean lines, but sometimes you can hide this. The dies are not as sharp or exact either. These “cling” stamps do not actually cling very well. Once you manage to pry them off their plastic backing page, there’s no stick left. Not great.

So the lesson is: spend the money and buy from reputable stamp companies. If the price sounds too good to be true, it very likely is.

Still, for a simple card, and since I have the stamps already and might as well use them, this card is pretty cute. Not great lines, but still fun to use.

Stamped using Tuxedo Black Memento Ink and colored in with Copic markers.

pig out anything goes challenge

Gift Truck

Speaking of cheap stamps….yeah, here’s another example. I do love me a vintage pickup loaded with stuff in the back! But this set has the same issues as the pig. Blurry lines, dies are meh, and no cling.

But, again, still can be used. So I did. This set comes with gifts, pumpkins, hearts, presents, flowers, apples, leaves, etc.

The sentiment is from an Avery Elle birthday set. You can see the difference in quality between the crispness of the sentiment and the blurriness of the truck. I’ll not be trying the cheap Amazon stamp set experiment again! I mean, when I take on an Anything Goes Challenge, I don’t want the challenge to come from actually getting the stamps to work right!

Stamped using Tuxedo Black Memento Ink and colored in with Copic markers.

truck

Topiary Hello

Let’s get back to great stamps, shall we?! I love Hero Arts, and this was a surprise freebie in one of my recent orders. I think this simple and sweet topiary makes a lovely card, don’t you?

It came with matching dies. I used the die for the greenery section to make a mask so I could ink blend the leaf area for a softer and more complete look.

The sentiment is also from that set.

Stamped using Ranger Distress Ink pads and colored in partially with Copic markers and ink blending.

topiary

Sea You Soon

Another Hero Arts win here. That watery background stamp is from Hero Arts and I’ve been itching to use it. I love it!

I paired it with an old Stampin’ Up! stamp set that features a school of fish, octopus, starfish, and lobster. The “Sea You Soon” sentiment is from another Hero Arts set.

I just love mixing and matching stamp sets! I can sometimes be too “in the box” and forget to do that.

Stamped with Ranger Distress Ink stamp pads.

anything goes challenge

Alright, all done. Hope you enjoyed this peak at my “Anything Goes” Challenge entries. You can check out other challenges here.

Y’all take care!

Leave a Comment Categories: Challenge Cards, Handcrafted Cards
Share :

“Favorite Technique” Challenge

February 23, 2021 Challenge Cards, Handcrafted Cards

Two entries into the Simon Says Stamp Favorite Technique Challenge…but how can I pick favorites?!

Well, hi!

I tell ya, every time a “favorite technique” challenge pops up I find it hard to choose! I love lots of different techniques. But then I remember…oh yeah, I love ink blending backgrounds. Especially skies.

And since I have a few new additions in my stamp collection, I thought it a good time to combine them with ink blending.

So, here you go…

Mahalo Floral Card

The latest card kit from Hero Arts is phenomenol! Lots of images and dies to play with. It’s been so cold and wet here lately in eastern North Carolina and having fun with some tropical whimsy is just what I need right now!

I wasn’t really sure where I was going with this when I started, but I like where I ended up! I stamped the flowers and leaves using masking, and colored them in with Copic markers. Then, I used Copic markers to make the water background.

In hindsight it would have been much easier to stamp, color, and die cut all those images out. But I do like that there’s no white border around them. So it’s fine; just hard to do the background around all that detail.

I used Glossy Accents from Ranger to make wavy lines over the blue ink background and let it dry. I stamped some other leaves from the Hero Arts set and placed those around the sentiment that I stamped. All those images are from that Hero set.

favorite technique challenge
mahalo closeup

You Warm My Heart Card

The stamps that made this very sweet campfire card are from an Avery Elle stamp set. I’m a bit lacking in the cute critter stamp category, so I recently purchased this set. I love campfires so this one was a no brainer.

I stamped the images I wanted to use first, then colored them with Copic markers, being careful to add some yellow glow to the sides facing the fire. (That racoon gave me some trouble, but that’s in their nature I suppose.)

Once those were ready, I placed them on a notecard just to see where I might want my horizon line. I set them aside and masked off that horizon. For this card I used stamp pads and blending brushes for a softer, more subtle blend. I started in the center where I knew the campfire would be, with yellow. Then a light brown around that, and a darker brown on the outer edge. Same basic idea for the sky.

With a few trees stamped at the sides, I was ready to glue my critters in place. After that it was just a matter of adding starts and sentiment.

I have to say, I think my favorite element on this card is the splatterware mug! I couldn’t help myself there!

favorite technique challenge

Both cards have a blended background. One uses Copic blending and the other uses stamp pads with blending brushes. Both are fun!

View my other challenge cards here.

So there you go! Y’all take care!

Leave a Comment Categories: Challenge Cards, Handcrafted Cards
Share :

“Love/Hearts” Challenge

February 5, 2021 Challenge Cards, Handcrafted Cards

My entries into the Simon Says Stamp Monday Challenge theme of Love/Hearts

love hearts challenge

Well, hi!

Welcome to another edition of “Julie Makes Challenge Cards.” I do seriously love doing these Simon Says Stamp challenges because it gives me some direction in what cards to make and experiment with.

And, with the recent release of Simon’s February kit, I’ve got lots to play with! I recently was thinking that I wish I had stamps of chocolate truffles and, lo and behold, they show up in the kit! Awesomeness!

So here we go…

Heart Mail

I used a Hero Arts heart background die to create the pink overlay. This goes over some very cute paper from the Simon February kit. Ranger Stickles glitter glue fills up the center heart. And a “heart mail” image from that Simon paper completes the card.

It’s a little busy, but I’ve been wanting to try out that die. Hmmm, maybe next time I’ll do some ink blending behind it?

love hearts challenge

Sweet Thanks

No stamps or dies in this one! It’s kind of fun to just use paper and accessories to create a cute card sometimes.

The patterned paper is all from the Simon February kit. I used some pink cardstock to back the cupcake image. And some pink metallic tape to edge it. I love my Spectrum Noir glitter brush and used it to add some dazzle to the cupcake sprinkles.

sweet thanks

Bunny Heart

That February kit is packed with awesome stuff, like the heart stencil I used for the background of this card. I used blending brushes to create it. First, I used pink. Then, after off-setting the stencil, I used a basic red. Ranger Gloss Accents on a few select hearts gives the background more dimension and some shine.

The bunny is a Printworks (no longer making stamps) stamp. But I did use a stamp from the Simon February kit for the sentiment in the bunny’s heart. After coloring that image in with Copic markers, I mounted the bunny in the center with double stick foam squares.

Oh, and I also used my Spectrum Noir glitter brush for the bunny’s cheeks and the heart he’s holding.

bunny heart

Oh, Hello There

I think this one is my favorite! I love those truffle/candy stamps. I’ve been so eager to use them.

Background papers are from the Simon February kit as well as the “Oh, Hello There” heart. I mounted that one with foam tape.

The candies are also mounted with foam tape. Each candy has something special about it. Some have Nuvo Crystal Drops for dimension. Some have metallic gold colored in for the wrapper. One of them has both! I think they turned out really cute.

love hearts challenge

And now I’m hungry. If you are now craving sweets, sorry…but why not check out this recent donut post?

So there are my entries into the Love/Hearts Challenge. Another challenge, another blog post. There’s another love themed challenge coming soon. So stay tuned.

Y’all take care!

Leave a Comment Categories: Challenge Cards, Handcrafted Cards
Share :

“We’re On A Roll” Challenge

January 22, 2021 Challenge Cards, Handcrafted Cards

Cute donut card for the latest Simon Says Stamp Monday Challenge with a “We’re On a Roll” theme.

we're on a roll challenge

Well, hi!

Once again I find myself with only enough time to make one challenge into the latest Simon Says Stamp card challenge. I had seven or eight ideas sketched out, but alas, there are other things that need my attention in life. So, here you go.

The basic idea for this challenge is wheels, circles, roundy things, etc. You get the idea.

My card is based on an idea I had to try to make a large donut using my circle die set. It was an experiment, but I think it went well. In fact, I’m planning on making a video for my YouTube channel on how to do it.

Yes, you could probably find a die set for this and it would likely be faster. But here’s the thing….I don’t have the budget currently to be buying all the dies! And I need to make the most of the ones I do have. I know I’m not alone here.

Ever get frustrated when you see someone making a cute card and think, “Well, yeah, of course….when you have that die set!”

Well, that was kind of the inspiration for this. How to get the look I’m imagining in my brain but without the specialty dies.

Since I’ll be doing a video, I won’t go into too much detail on how to do it here. It’ll be easier to understand in the video. My Copic markers, though, came in clutch here and helped achieve the look for the “We’re On A Roll” Challenge. Simple but fun.

So be on the lookout…mmm…probably next week! Until then, here’s a recent post and video I did.

Until then, y’all take care!

Leave a Comment Categories: Challenge Cards, Handcrafted Cards
Share :

“Shake It Up” Challenge

January 15, 2021 Challenge Cards, Handcrafted Cards

One shaker card for the Simon Says Stamp “Shake It Up” Challenge

shake it up challenge

Well, hi! Welcome to a short challenge post ‘cuz I got some other stuff to work on this week….custom client order!

But, I do love a good shaker challenge so I had to make at least one for the “Shake It Up” Challenge. And I LOVE the way this one turned out.

To create the background I used a stencil from Hero Arts and ink blended with yellow, orange, and deep pink. I used a Hero Arts stamp set to create the center sentiment as well as the “you are awesome” on the card border. The stars are also from that set.

The shaker elements? Well, I’ve collected those from Walmart. Yes, Walmart! I like to check their craft supplies every so often to see what generic types of supplies I can find there. Sequins, glitter, and other such elements are usually there and it’s a surprisingly good selection.

I love the vibe that these warm colors creates. It’s no wonder, then, that I often use those colors and do sunrise/sunset scenes. It’s really my favorite color combo. And I think it’s perfect for this “Shake It Up” Challenge.

Have you ever made a shaker card? You can see a video where I put together my first shaker card (on this blog anyway) here.

Leave a Comment Categories: Challenge Cards, Handcrafted Cards
Share :

“Sparkle & Shine” Challenge

January 5, 2021 Challenge Cards, Handcrafted Cards

Here are a few entries into the Simon Says Stamp “Sparkle & Shine” Challenge.

Well, hi! It’s been a couple of weeks since I last posted. I took a much needed break and now I’m back in the swing of things and ready to start doing challenges again.

Today, I have a few entries into the latest Simon Says Stamp Wednesday Challenge.

Never Let Anyone Dull Your Sparkle

How fitting!

This striking card is made by using double stick tape and glitter. I just arranged the tape in vertical lines, starting with the wider tape. Then I poured glitter over the entire card. It sticks to the tape! After that, I just repeated the same steps using the narrower tape and a different glitter color.

The sentiment was made in Canva and printed out onto cardstock. I then trimmed the top and bottom of the cut out sentiment with more tape and glitter and attached it to the card.

Easy! And super sparkly. Looks very New Years-y to me too!

Birthday Girl

Although this card is fairly simple in design, I think the impact is high! I love the combination of two papers that have different patterns but the exact same tone on tone colors. The metallic gold paper and Motherlode embossing powder for the sentiment really make this card sparkle and shine!

sparkle and shine challenge

Out of This World

For Christmas I received a fun Lawn Fawn stamp and die set from one of my kids. And I’m so excited to be able to use it now!

I stamped some images from the set onto white cardstock and colored them in with Copic markers. Once they were done, I used the coordinating dies to cut them out.

The background for the images was made using watercolors. It took a while to build up the color, but it was so fun to do! I’d like to keep working on this technique to really get it down. But I’m happy with this first attempt at a watercolor galaxy type background. Once the paint was all dry I splattered the surface with both white goache and a metallic gold paint to get that….sparkle and shine!

out of this world

Party Animal

This card is for my daughter’s 25th birthday. I’ve been itching to use this cute birthday stamp set from My Favorite Things since I bought it a few weeks ago. I love the simple lines of the images. Clean. Fun.

I stamped three of the scenes from the set onto cardstock and colored them in with Copic markers, keeping the color palette fairly small. I wanted the overall effect to be more subtle since I used a metallic gold accented paper background. But I did trim out each scene in gold metallic tape.

sparkle and shine

So, there you go. Four entries all with some kind of sparkle, shine, or both! Fun challenge!

Stay tuned for further posts and challenge entries! To see my last challenge post you can go here.

Y’all take care, and have a Happy New Year!

Leave a Comment Categories: Challenge Cards, Handcrafted Cards
Share :

“Let It Snow” Challenge

December 14, 2020 Challenge Cards, Handcrafted Cards, Holiday Cards

Just two entries this time for the Simon Says Stamp Wednesday Challenge with the “Let It Snow” theme.

Today I have two great entries into the Simon Says Stamp “Let It Snow” challenge. I love them both. ‘Cuz I love snow. Each card entry has snow but using two different media.

Snowy Greenery

If this card looks familiar, it’s because I also used it in the Monday challenge. This is the one I almost gave up on; so glad I didn’t. I really love the final result. Snowy and beautiful!

Christmas greenery stamp is from Simon Says Stamp. The sentiment is printed from my computer (and is crooked, dangit…oh well).

The snow for this card was made using watered down goache (opaque white watercolor). I used a paintbrush to splatter it on over the top of my ink blending and “failed” resist spray.

let it snow challenge

New House

My daughter and her husband closed last week on a new home. I thought it would be fun to create a housewarming card with some seasonal charm. But I also wanted to make it look like I had a stamp of their house!

pic to line drawing conversion
(Having more than one image was helpful so I could test colors and techniques)

This tutorial helped me to turn a photograph of their new home into a line drawing in Photoshop. Printed out in grayscale, it has the look of a line drawing or possibly a very detailed stamp. I colored it in with Copic markers (the front doors have wreaths drawn in but it’s hard to see) and then I went to town with the white gel pen!

And I’m so happy with my recent purchase of the Boxun white gel pens. So far they are working out great! Easy flow and I love them. I’ll have to report back on how they do over time.

Anyway, I spent way too long (but it was fun) adding in hundreds of tiny snow dots as well as some larger snow blobs for depth. Once that was done, I die cut a “frame” from dark brown paper and added gold accents with a gold metallic gel pen.

Mounted onto plaid paper and with a cozy “Home Sweet Home” sentiment, this card is complete and I love it! It was so satisfying to work on. I love learning new things! I may use this photo-to-line-drawing technique in the fugure. Combining tech and art has always been fun for me!

Here’s a close up:

You may be thinking, “Lady, the grass and trees are green….how can it be snowing?” Hmmm. I guess you’d have to live in eastern North Carolina to understand the dichotomy. It happens, folks.

Y’all take care!

Leave a Comment Categories: Challenge Cards, Handcrafted Cards, Holiday Cards
Share :
  • 1
  • 2
  • 3
  • Next Page »

Get My Latest Posts via Email!

Name

Email


designer spotlight
SSS Monday Challenge Winner

Recent Posts

  • Cards for Ukraine
  • Simple One-Layer Cards
  • Using Airtable to Inventory Your Stamps
  • Catching Up
  • “Beautiful Blossoms” Challenge

Categories

follow me on instagram

Follow on Instagram

Archives

  • March 2022
  • February 2022
  • May 2021
  • March 2021
  • February 2021
  • January 2021
  • December 2020
  • November 2020
  • October 2020

Meta

  • Log in
  • Entries feed
  • Comments feed
  • WordPress.org
Cricketleg Creative. All Rights Reserved.Design by SkyandStars.co
Back Top

Copyright © 2025 · LoveYourself on Genesis Framework · WordPress · Log in